Showing posts with label Halloween. Show all posts

Thursday, October 29, 2015

Howl-o-ween Treat

Mini Treat Bag


Only two more day until Halloween!!! So here is a fast and quick treat you can make. I used Stampin up's Thinlits Die Mini Treat Bag. I also used Chalk Talk Framelits for the tag. I love the new Howl-o-ween Treat stamp set. All the images in this set have a coordinating die.  The paper is from the DSP Happy Haunting .
Thank you for stopping by
Stampinly your's
Lynne

Friday, October 23, 2015

Woodland Textured Impressions

Among the Branches


Todays card is another card from the Holiday Catalog. It's fun and simple to make. I used the " Among the Branches "stamp set. I also used the " Woodland Textured Impressions Embossing Folder".  This year stampin up have these fun "Spider Web Doilies" that I used on the back ground. I stamped the birds and scary eyes with the new " Archival Stampin' Pad" .  For the Boo I used stampin up Framelits Dies from the Boo to you Framelits Die set. 
Hope you enjoyed today's card.
Thank you for stopping by
Stampinly your's 
Lynne

Today is the last to get 15% off Stamp!

Go to my online store and get your stamp's today!

Friday, October 31, 2014

Happy Halloween


Fall Fest


It's finally here! So my last Halloween card and Treat. I Hope everybody has a spooky Halloween!
Thank you for stopping by
Stampinly yours
Lynne

Wednesday, October 29, 2014

Freaky Friends

Trick or Treat


So Fun, So Easy
1. Color the which.
2. Stamp on the Mini Muslin Bag.
3. Add some glimmer paper for extra glitz.

Only a few more day before Halloween. This is a great last minute gift.
Thanks for Stopping by
Stampinly your's 
Lynne 


Visit My Stampin' Up Store for Supplies.

Sunday, September 28, 2014

Freaky Friends Candy Bar Wrap

Here are the Supplies you will need to make Candy Bar Wrap!

Click on the item above to go to my On Line Store.

First Step

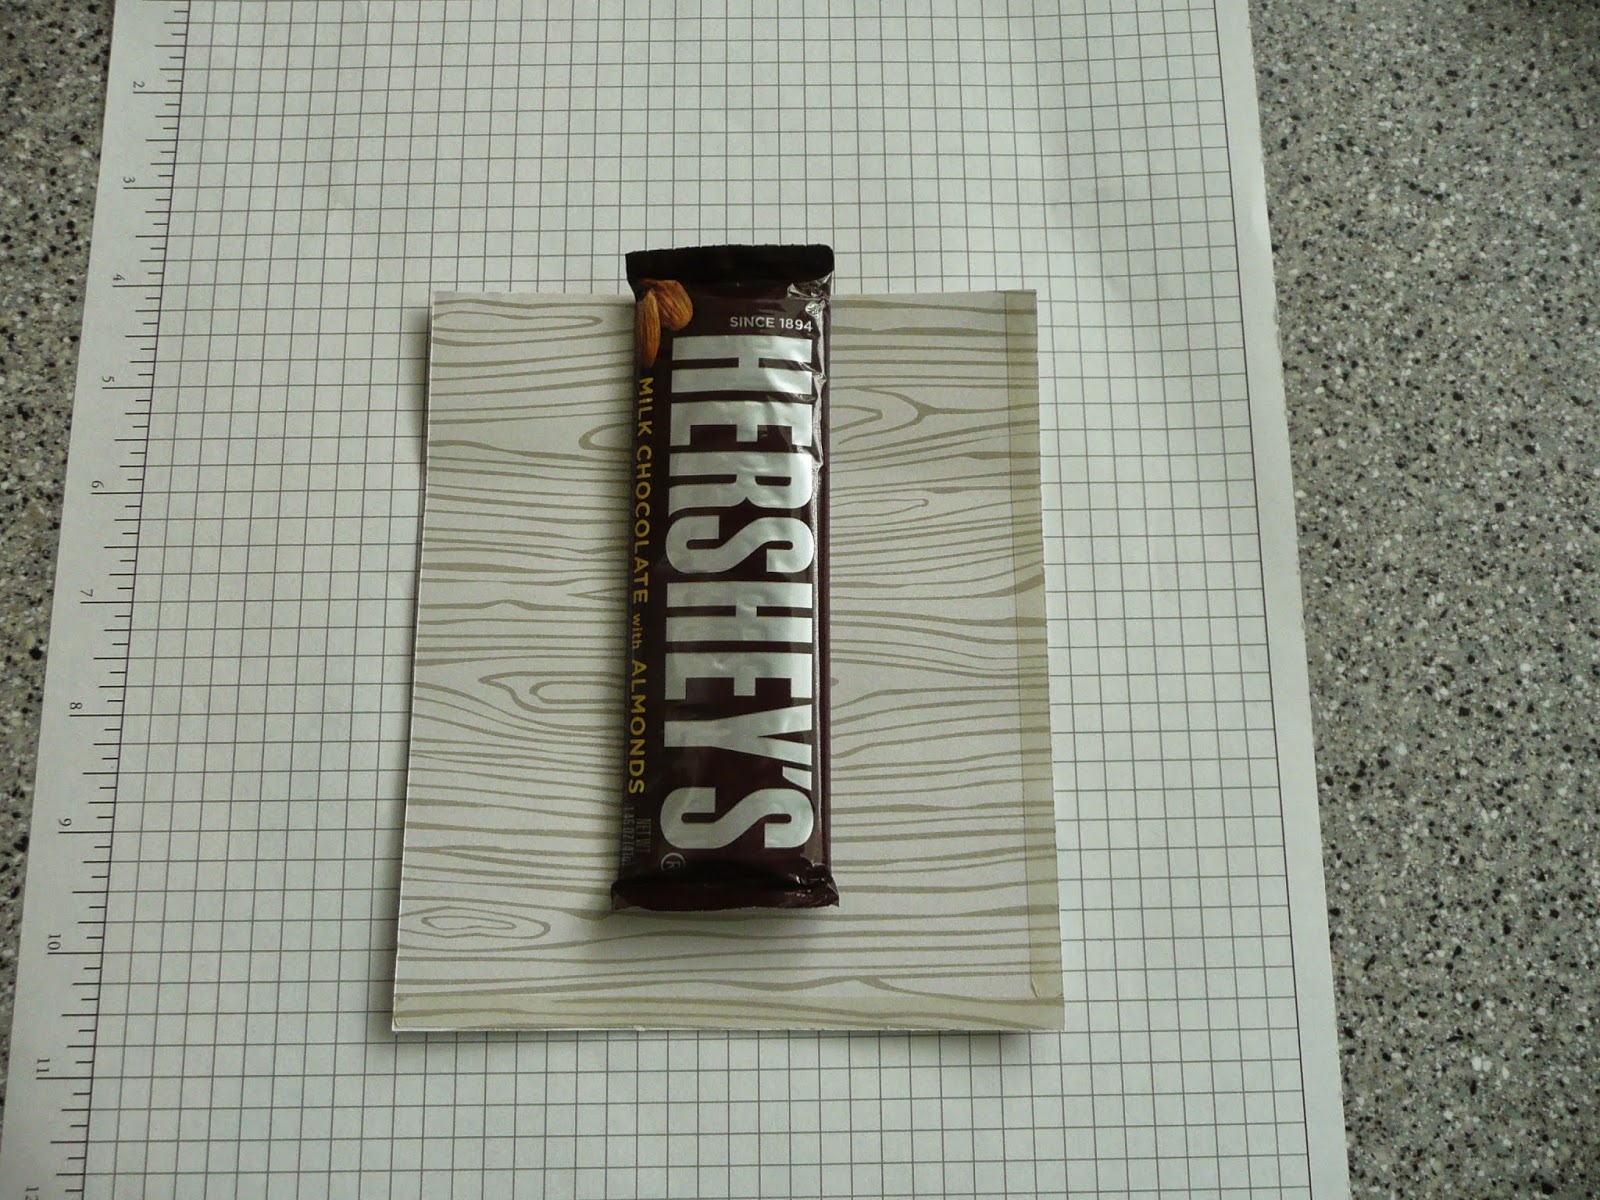
 You will Need to cut your DSP  cut to 6 1/2 by 5 1/2.

Put Sticky Tape on one side and the bottom of DSP paper.
Pull the Sticky pink off. Then Fold the long side with out the stick tape over the Candy Bar first . Don't let the bottom stick together yet.  Then fold the side with the stick strip over on top of the other piece of DSP.   Pull the candy bar out of paper.
  It should look like this after you fold the sides over. pull the candy bar out.
 With the punch you will punch a hole just big enough to slip the ribbon in. After you punch the slits add ribbon. Ribbon is about 21 inches.
 As you insert the candy bar the ribbon will slowly go down with the candy bar.
After you push the candy bar all the way in, tie a not at the top and your dun.
Supper easy and fun. All my kids are wanting  to give one to there friends for Halloween !

I hope you enjoyed today's Candy Bar  Wrap Tutorl. 
Thank you for Stopping By
Stampingly yours
Lynne

Tuesday, September 23, 2014

My Paper Pumpkin September


My Paper Pumpkin arrived this after noon!  So So cute. The burlap bags are big enough to fit a candy bar. I love love that there are eight different stamp greetings and stickers to decorate the tags.   
If you haven't singed up for paper pumpkin yet go to : www.mypaperpumpkin.com
Thank you for stopping by
Stampinly your's 
Lynne

Catching Butterflies

When I saw this stamp set it reminded me of my oldest daughter when she was little playing in the back yard with her butterfly net. The rush...